ASTROPHOTOGRAPHY WITH A DSLR
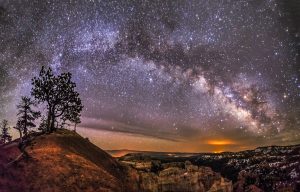
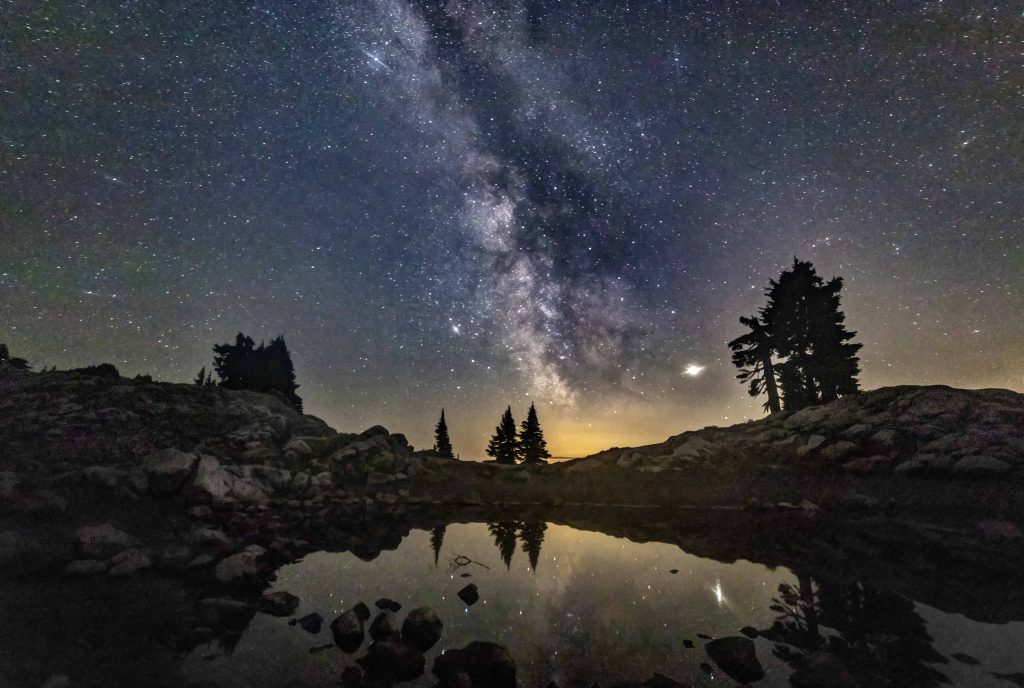
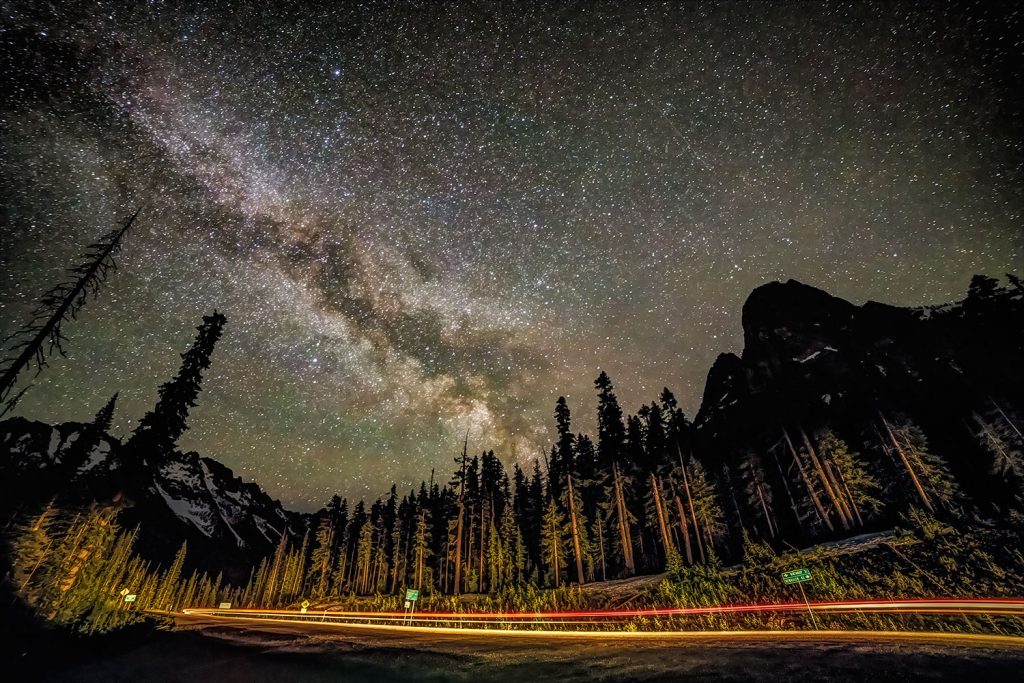
There is nothing more stunning that a clear image of the Milky Way Galaxy arcing overhead on a clear night.
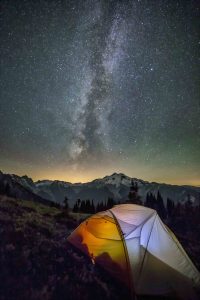 The feeling is awe inspiring, magical, fantastic. Talk about putting things in perspective!
The Majesty of the Galaxy is on display and you can feel yourself on the outer rim and the immense ring of stars…
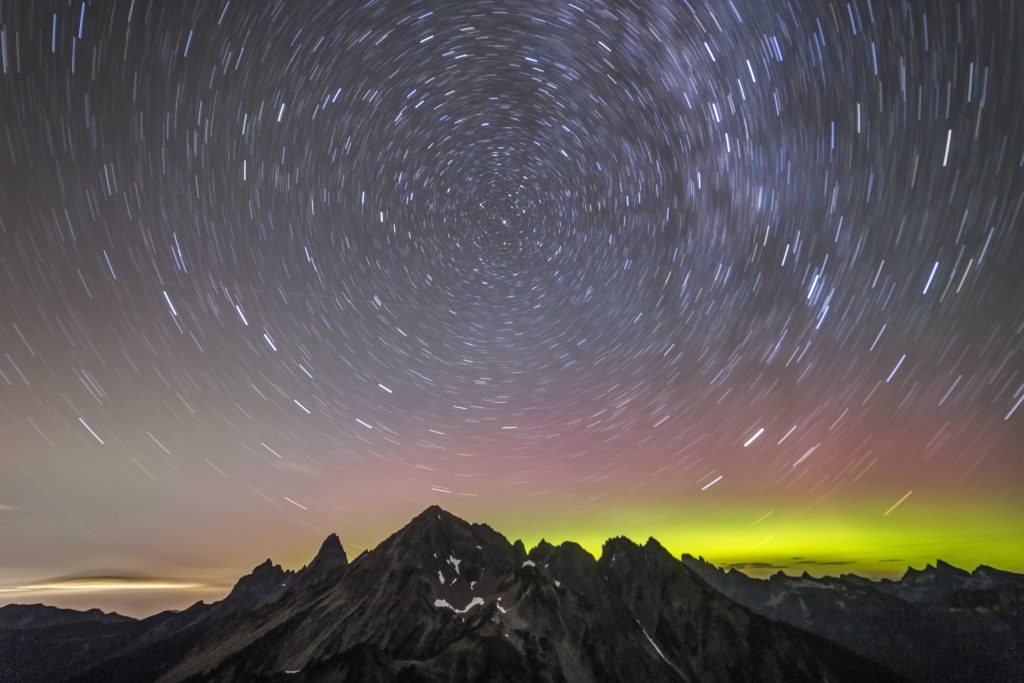
As you stand and watch the arc of stars rotates across the sky. It is truly a sight to behold.
You can register for a Night Sky Photo Tour here.
Astrophotography with a DSLR
As far as capturing images like this goes, the equipment list is rather meager. You need a decent DSLR (a full frame body is best, but not mandatory) a wide angle lens ( 10 to 16 mm is best) a tripod and a cable release (or electronic shutter release) and that’s really all you need, equipment wise.
IF you are using a wide angle zoom lens, for example, a 16mm – 35mm lens, make sure to rotate the zoom ring and set it at its most wide angle setting, in this case, 16 mm. And don’t change it!
Once you get out to your spot 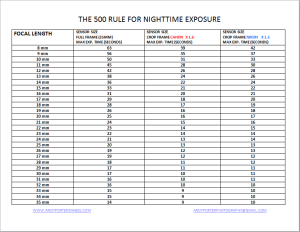 and get set up set the camera on manual exposure mode and open your aperture up all the way (use the lowest f/stop number) and then, using the chart here, set your shutter speed.
As for ISO, that is really the only variable. Depending upon your camera I would suggest starting at a relatively low ISO, say, 1,000 and then work your way up, checking the images as you go. Each camera will have its own ISO sweet spot, often its the mid point between the lowest and highest ISO setting on the camera.
Setting the Focus Manually
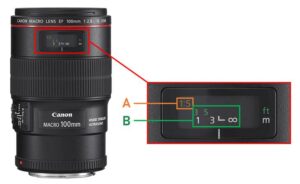
One more important item is focus. You must set your lens on Manual Focus. Auto focus will not work at night and so, before you head out, take some time and figure out how to manually set the focus ring on your lens to infinity.
There are several way to do this, one is look up your lens on line, looking for the manual, or advice as to how to set that lens to infinity.
What I suggest is to do are these steps: During daylight, with the camera in Auto Focus, Set the aperture all the way open and zoom out to its widest setting. Point the camera at something very far away. When you push the shutter button half way and the camera beeps: you’re focused! Now look at the lens focus distance window and note EXACTLY where it is set.
When you shoot at night set the lens on Manual Focus and adjust the focus ring as noted.
That’s it! Then you can leisurely move about, composing shots and have fun (make sure to check your focus ring from time to time, moving your rig about can often change the focus setting!)
As you recompose try different ISO settings and Viola! Nice shots.
Once you get the basics down you will probably want to start looking for unusual spots to go take Milky Way images. I am often planning for foregrounds and backgrounds and people and things in the shot.
Night Sky Photo Tours
If you are new to all of this its not a bad idea to go out with someone more experienced the first time and get the bugs worked out. I offer Night Sky Photo Tours. We meet and drive out to some location away from the lights of civilization where we can set up and get clear images of the stars.
One necessity is a night when there is little, or better, no moon in the sky. You can consult a lunar calendar and see when the New Moon is each month. You need to go out plus or minus no more then 2 days from the New Moon.
The Night Sky Photo Tours come in two varieties: Drive-In, where we drive to a overlook in the mountains and set u near the car to capture images, or Hike-In. This is where we leave earlier and hike in with our equipment (and possibly camping gear) to a more secluded (and spectacular) location to get pictures.
Once we are there I will help mentor you as to all the basics: exposure, focus and composition to ensure that you get some awesome shots of the Milky Way.
Here is a page with dates, prices and a simple way to register for the next new Moon!
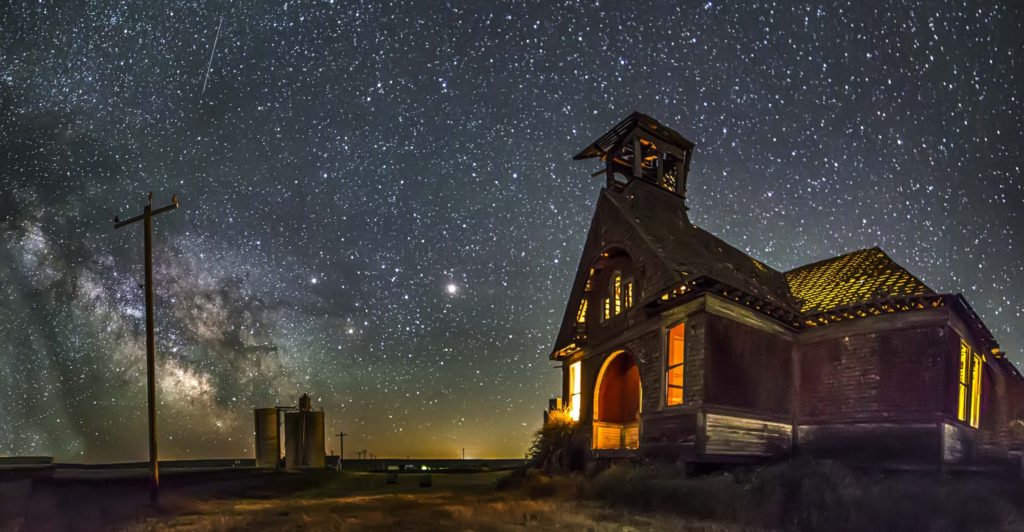
- Govan School House
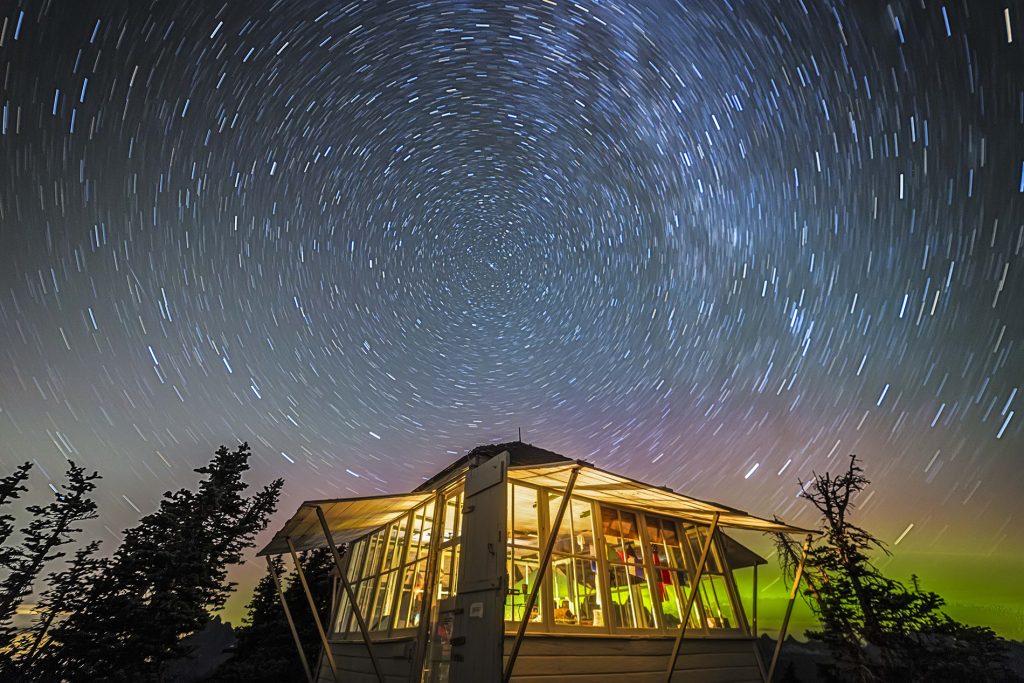
- Winchester Lookout
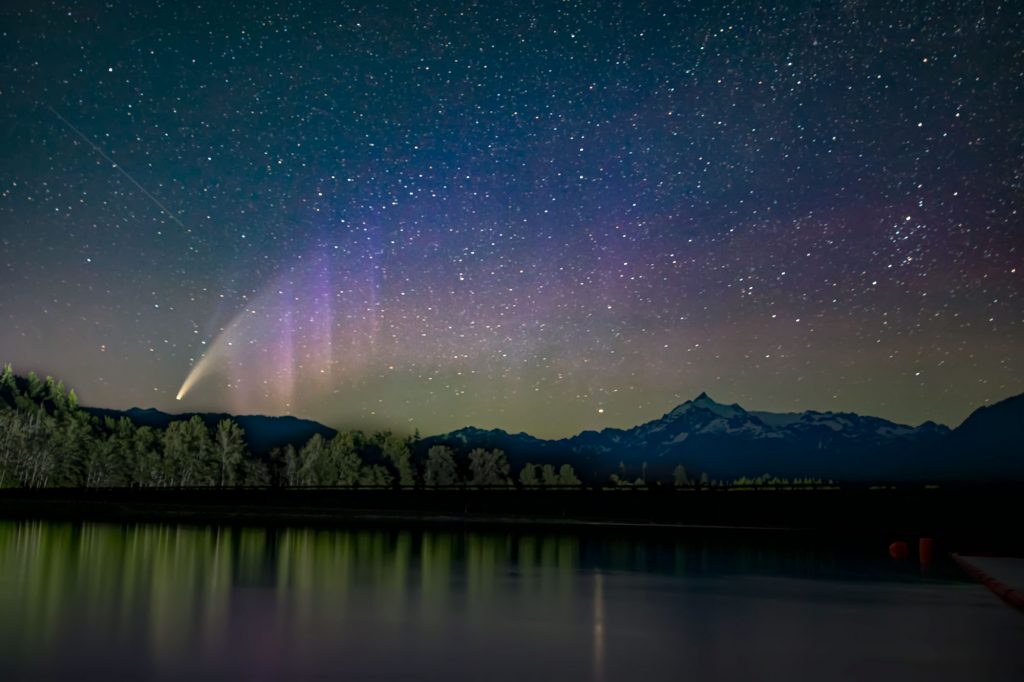
- Neowise and Aurora Borealis
- Mt Baker
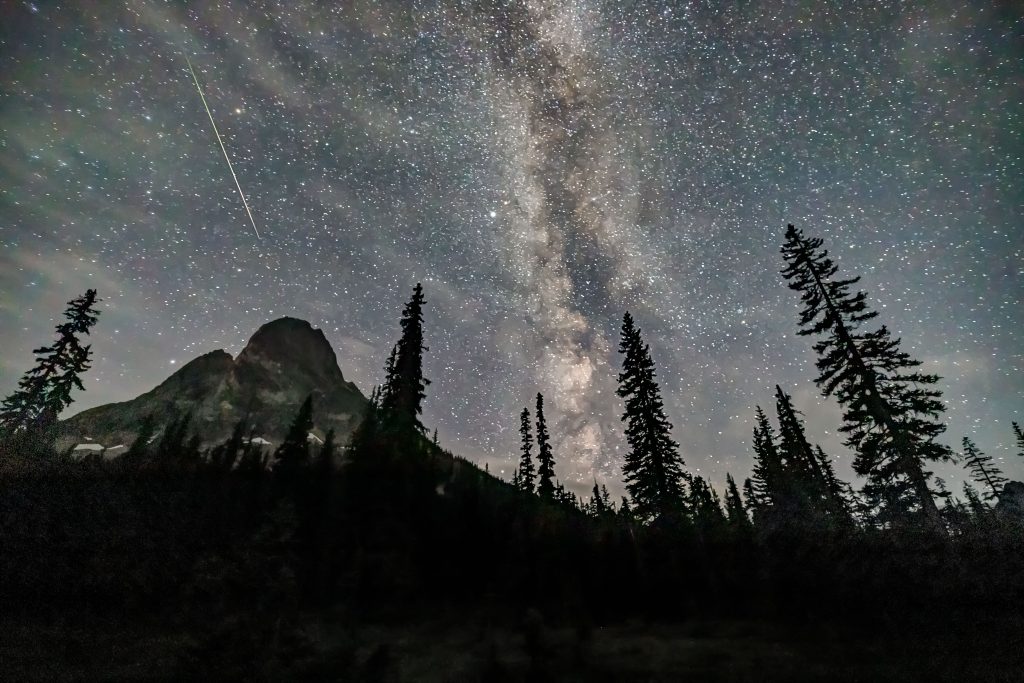
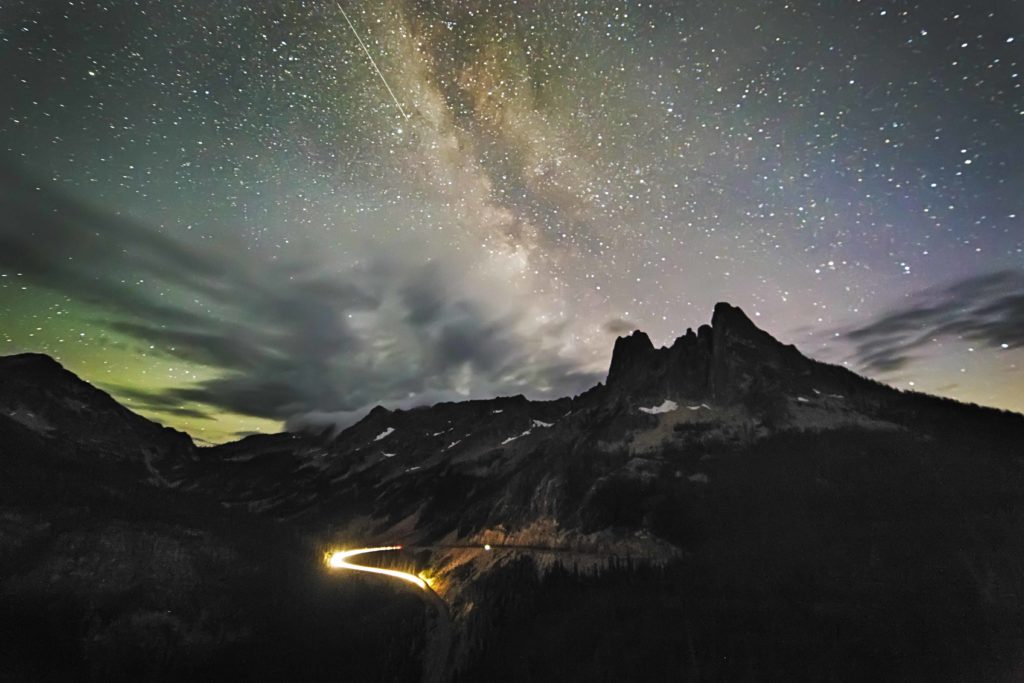
- Meteor over Liberty Bell
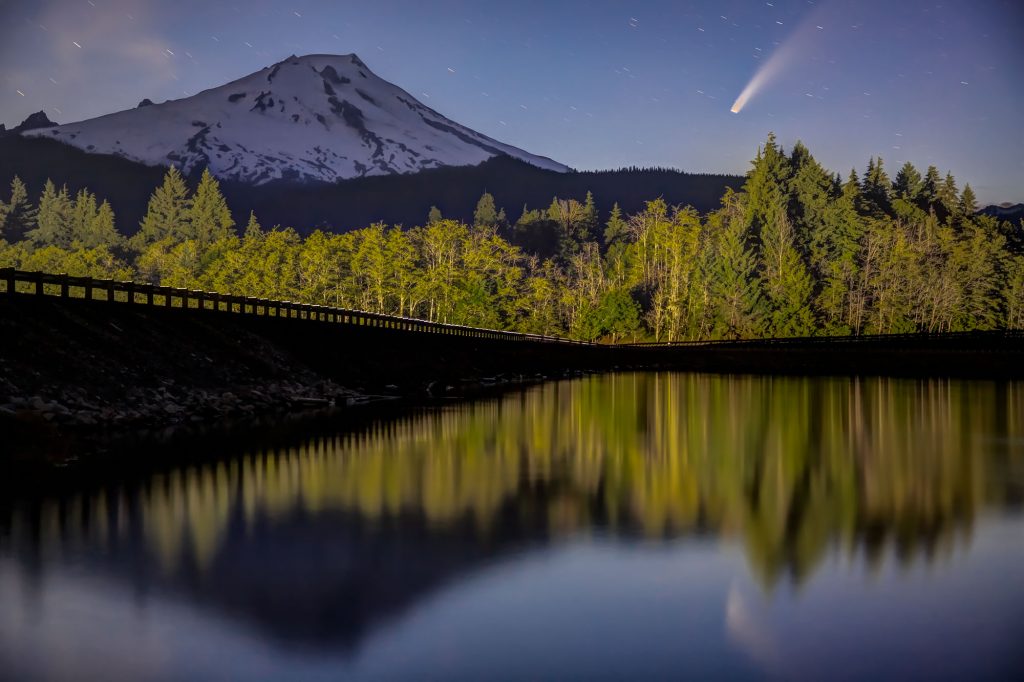
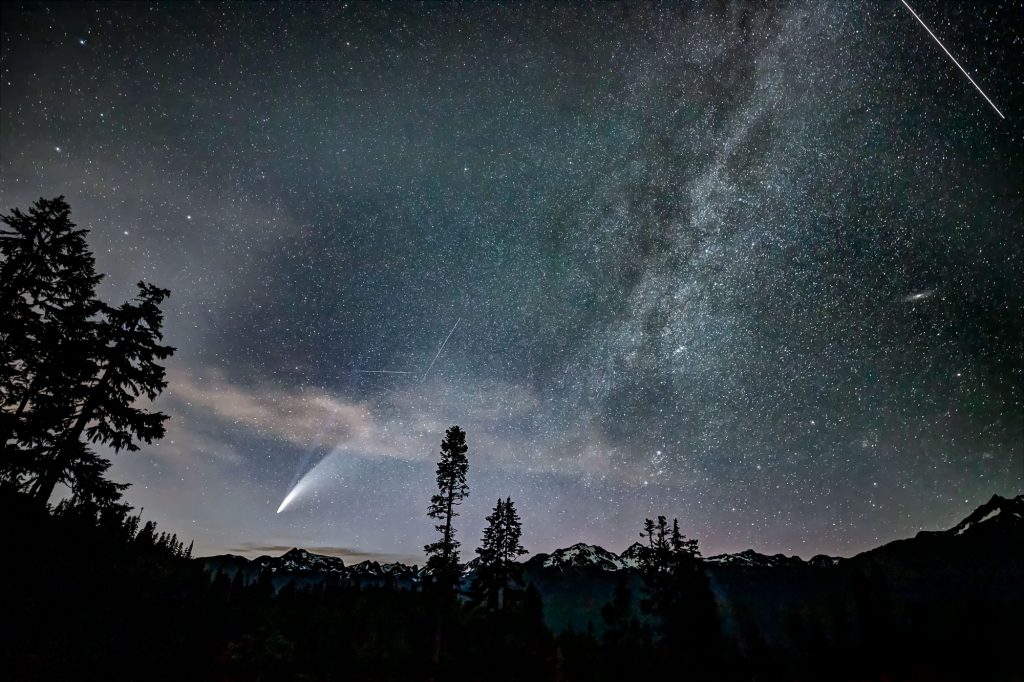
- Comet Neowise and Mount Baker
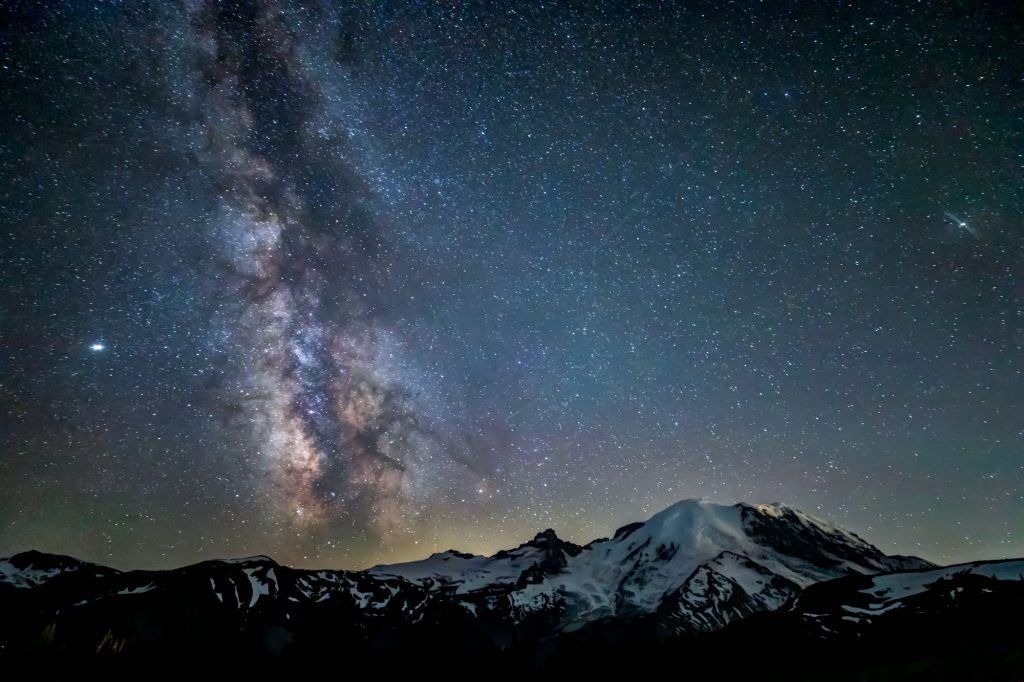
- Mt Rainier
- Washington Pass
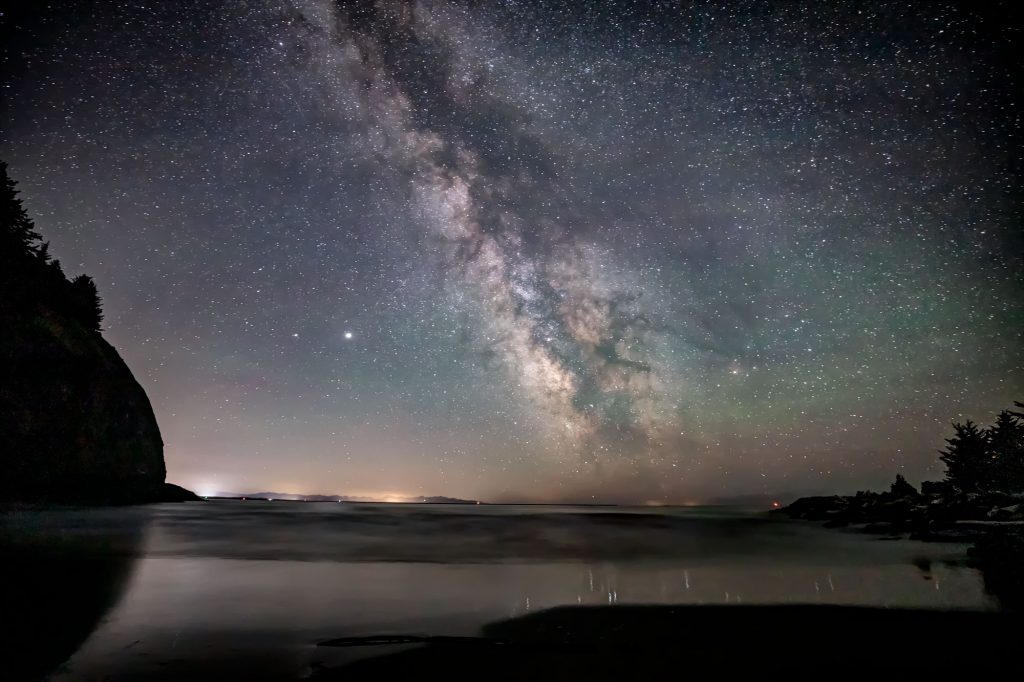
- Cape Disappointment
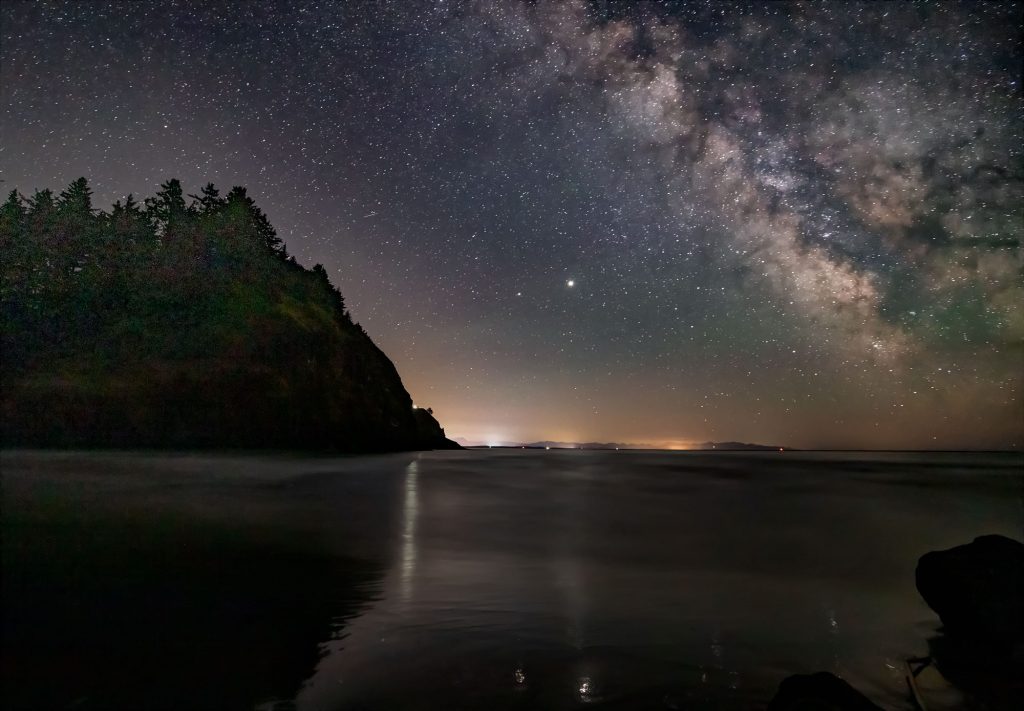
- Cape Disappointment
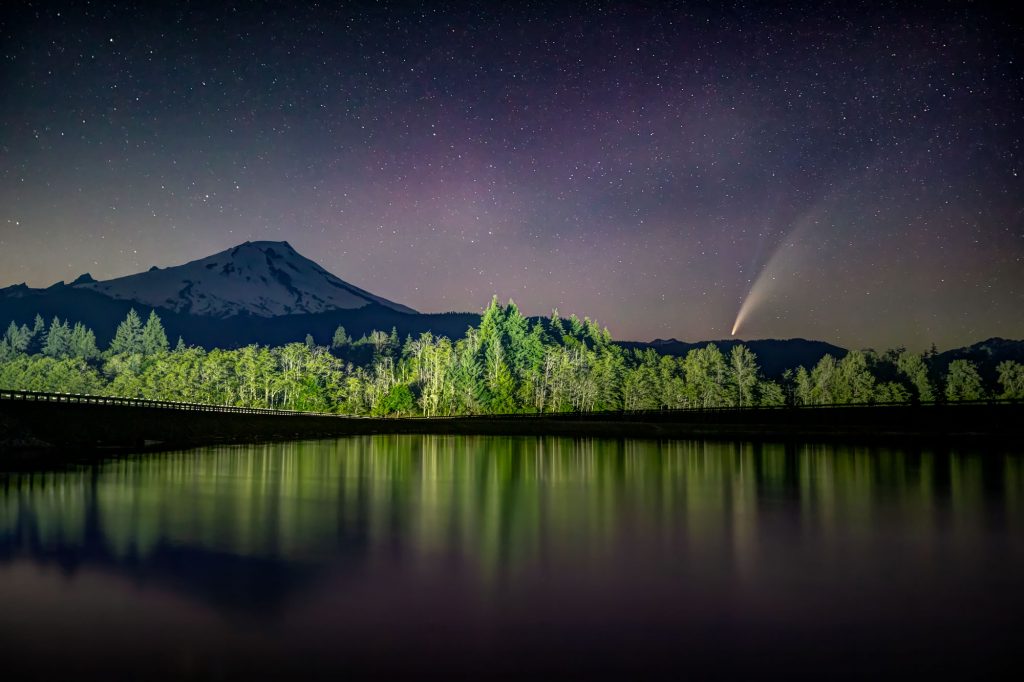
- Comet Neowise and Baker Lake
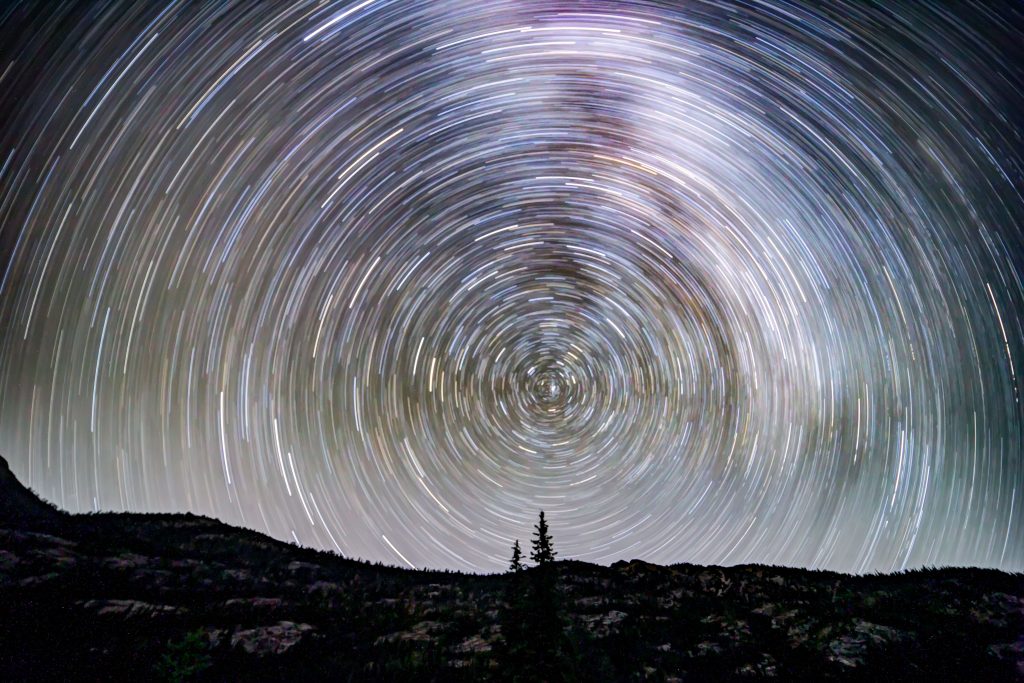
- Star Trails at Washington Pass
- Neowise over Mt Baker Highway
- Crystal Mtn
- Mt Larrabee and Aurora
- Artist Point
- North Cascades Highway
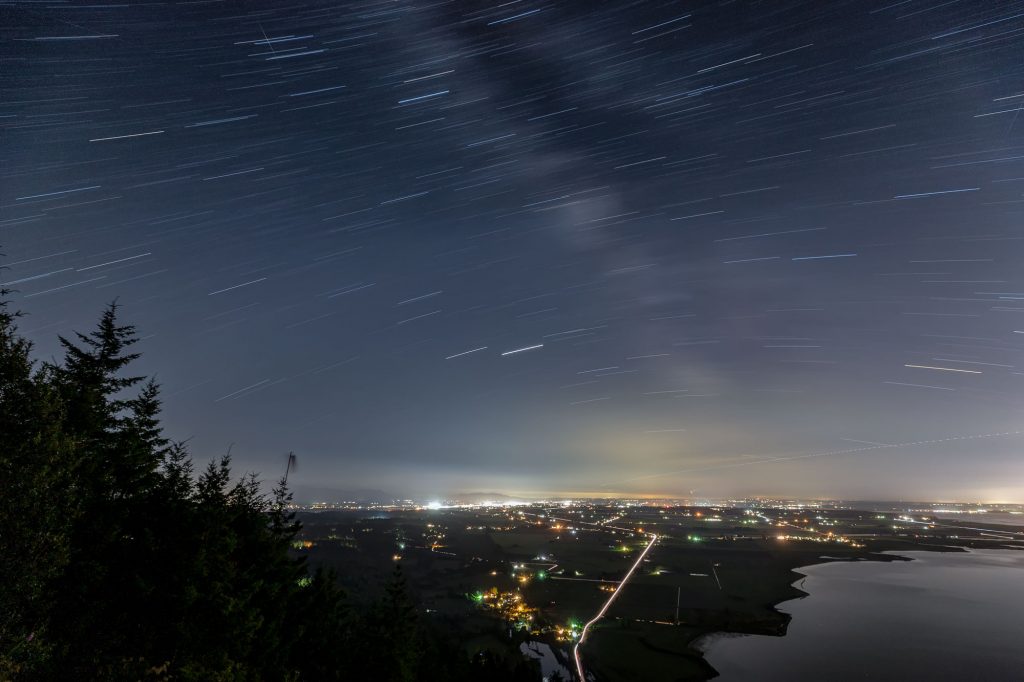
- Samish Overlook
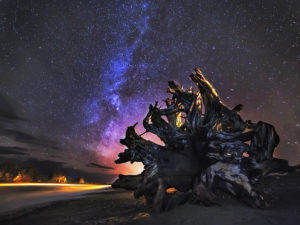


Your Night Sky Photos are exquisite! I enjoyed reading your article, also.